Our vacuuming tips that SUCK!
Now that I’ve stopped chuckling about that poor attempt to crack a funny lets get down to business.
Vacuuming is a painful subject for me. It drives me crazy. It makes me mad! It makes me feel like I’m 300years old. But this post isn’t an opportunity for me to rant on about that, it’s actually my way to share with you a few tips how to vacuum like a professional, without having to go through the pain I went through to learn all of this.
Become attached to your attachments
Okay so not literally. These are your handy tools to make vacuuming a lot easier and to get even more use out of your vacuum.
Most vacuums come with at least a few attachments of which have a specific use – so, let’s quickly hash over what each one does:
Crevice Tool
This long and narrow tool is designed to get into corners, the area between your baseboard and your floor (you get a lot of build-up there), under spaces, in between the small crevices in upholstery, window tracks etc. It’s useful and man, does it work! Keep this one handy it’s going to be your most used and favourite of them all.
Upholstery Brush
This is designed to, well, remove dust and debris from couches. Depending on the brand of vacuum you have, it may have a little lint removal strip which you can manually clean after each use. Mine is always clogged with fluff and hair.
Hard Floor Brush
Hard floor attachments have fine bristles, like a broom, attached to the bottom. This essentially makes your vacuum into an electric broom.
Dusting Brush
This is used for dusting and cleaning small, delicate spaces. For example, it’s great to use for cleaning a keyboard, cleaning out a drawer, cornices for cobweb removal when you can’t quite reach with your duster etc. I use mine a lot! It has the same bristles as a hard floor brush which means it won’t scratch or mark the surface.
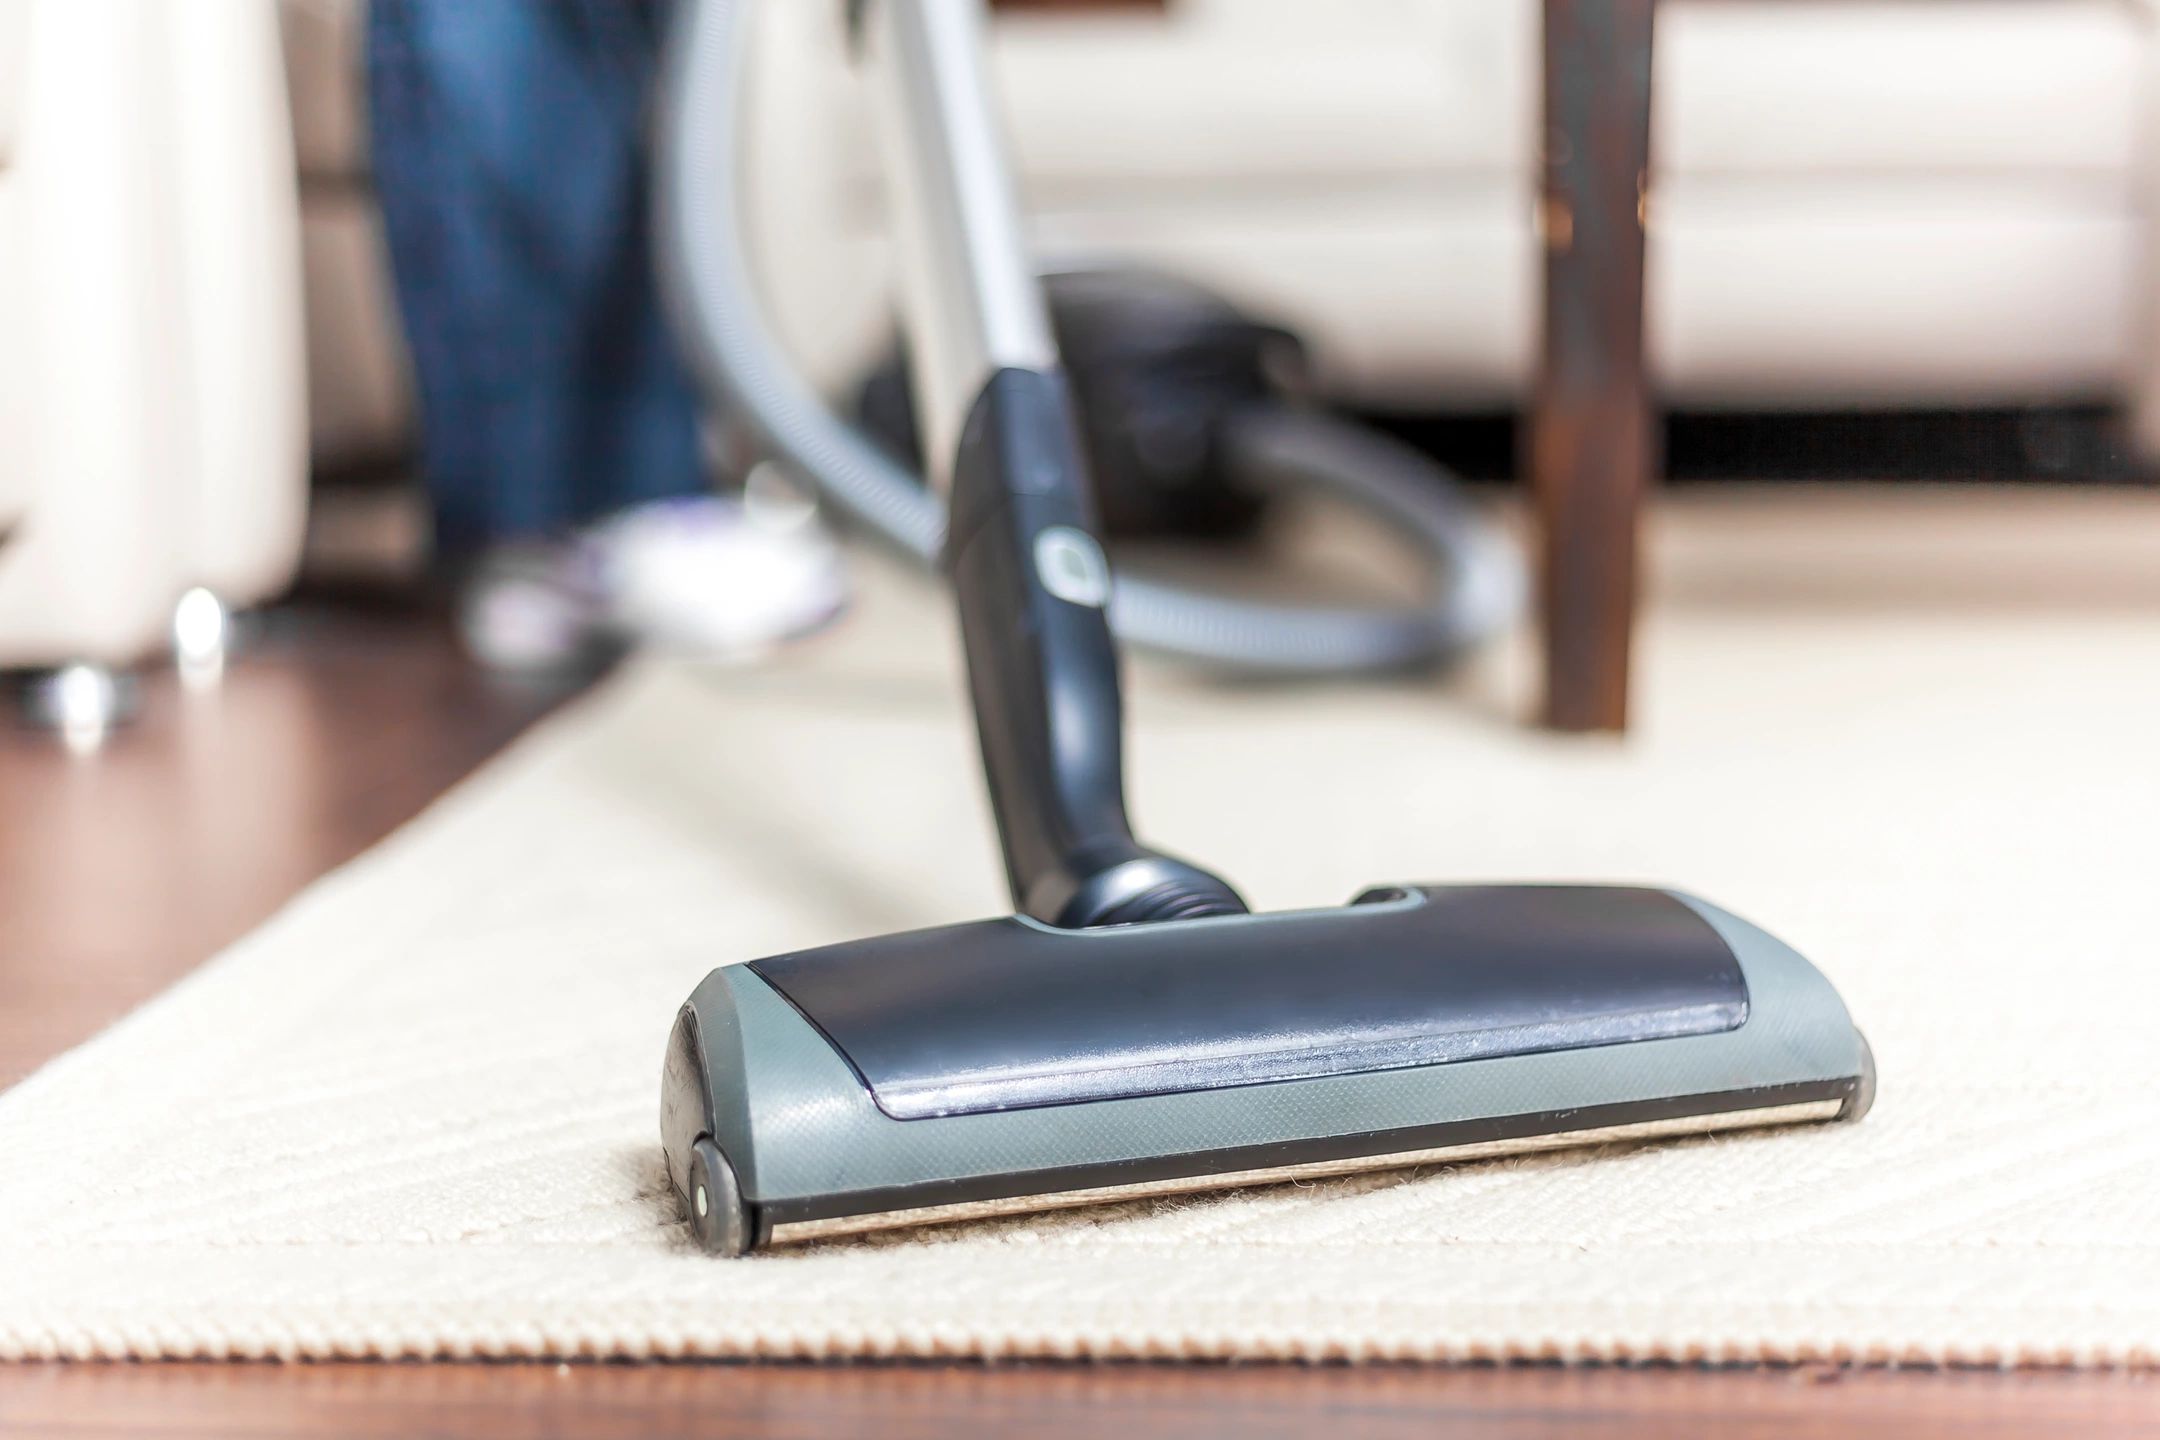
Powerhead
This is what’s used on carpets. It has a brush (beater bar) which spins and digs into your carpet fibers to pull anything out that shouldn’t be there. This is what gets you those nice cut lines. In some cases you can adjust for the pile of your carpet, so make sure you do that cos cut lines are sooo satisfying.
I recommend doing all of your attachment vacuuming first, then moving any furniture out of the way so that you can clear up the floor for your full on vacuum, then replacing the items when done.
The right tool for the right job is my motto so be sure to use the right vacuum attachment for best results!
Deoderising
You can buy products that you can sprinkle onto your carpet before you vacuum to freshen it up. I recommend baking soda. It’s cheap and I’m my opinion does a good job. Carpets harbour a lot of odours. Sprinkle a generous amount of baking soda onto your carpets and leave if your 15-20 minutes. It helps freshen up the carpet and loosen the carpet fibres to release the dust, dirt and pet hair that’s hiding from the naked eye.
Vacuum Cut Lines
Nothing showcases a freshly cleaned room quite like vacuum cut lines – for the 3 minutes before someone walks all over the carpet. The worst is when I forget to move the cord and the cut lines are instantly disturbed.
Vacuum in Slow-mo!
Vacuuming is NOT a race and as much as I would like for my vacuuming to be over and done with as quickly as possible, it’s really important to take your time to allow as much brick a brack to be sucked up into the vacuum and the only way to do that is with slow, deliberate passes. I use a W technique to cover over each area of carpet several times. Also, vacuuming can literally suck a lot of energy out of you, and if you do it too fast, you’ll burn out and that’s a bad feeling when you’ve got a lot of it to do. I take my time, I just slowly walk up and down my section until the job is done, and my arms don’t tire out as fast. Trust me on this one! Because if you go to quickly you will just end up having to do it twice as you wouldn’t have picked up everything.
Work Toward the Door
This might sound simple, but it’s a handy tip to avoid you vacuuming yourself into a corner (and then getting footprints all over your precious cut lines!). You ALWAYS want to start your vacuuming at the opposite end of the room in accordance with the door. That way, there won’t be any footprints on your freshly cleaned carpets. On that note, where you plug your vacuum in is quite important. If you plug it in in front of you, you’ll be vacuuming over cords, you’ll have a tough time keeping the vacuum behind you and you will most definitely have to walk over your freshly vacuumed carpets to unplug it. So, always look for the socket that is closest to your exit point, and re-position it if you have to as you work your way toward the exit point of the room. Some people get extension cords so they never have to unplug all the time – I do recommend this to everyone in my team so we don’t have to be always on a PowerPoint hunt.
What are your vacuuming secrets? Please share, because if I can find a way to make this job even easier, I definitely want to know!
We recommend getting your carpets professionally cleaned yearly. This helps extend the life of your carpet, lifts the dirt and pollutants that are tracked in on our shoes. To get yours cleaned contact us today to discuss.
Happy Vacuuming!!